Update Xbox One Controller on Windows 10
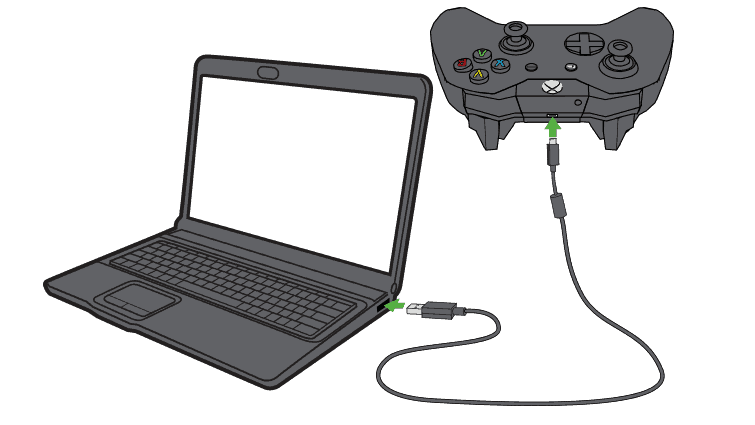
To get started, you will need to connect your controller to your Windows PC via a USB cable or the Xbox Wireless Adapter for Windows and make sure it is recognized by Windows.
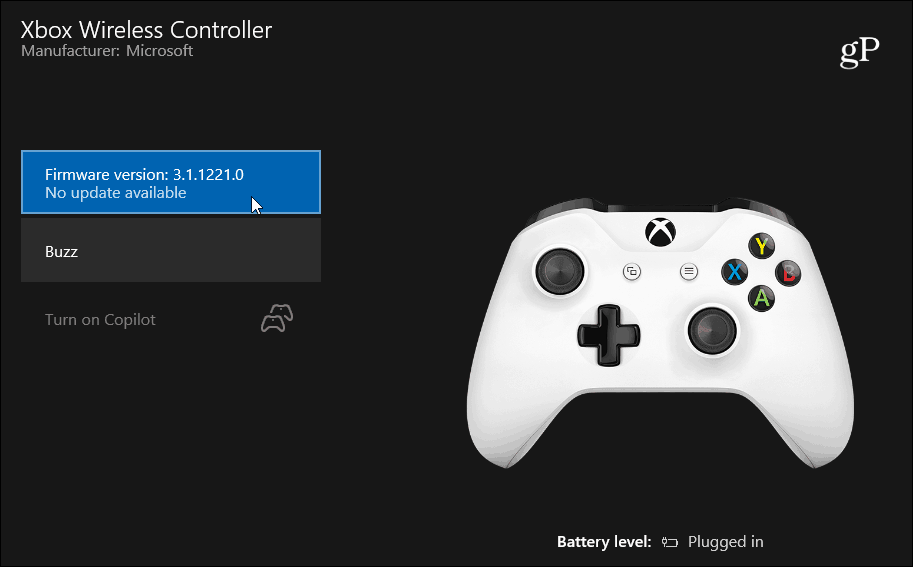
The next thing you will need to do is download and install the Xbox Accessories app for Windows 10. The app will detect your controller and display a screen where you can choose to configure the controller, i.e., map buttons. Click the button below the “Configure” button and wait while the app lets you know the current firmware version installed on the controller. If should display your Xbox gamer tag as well.
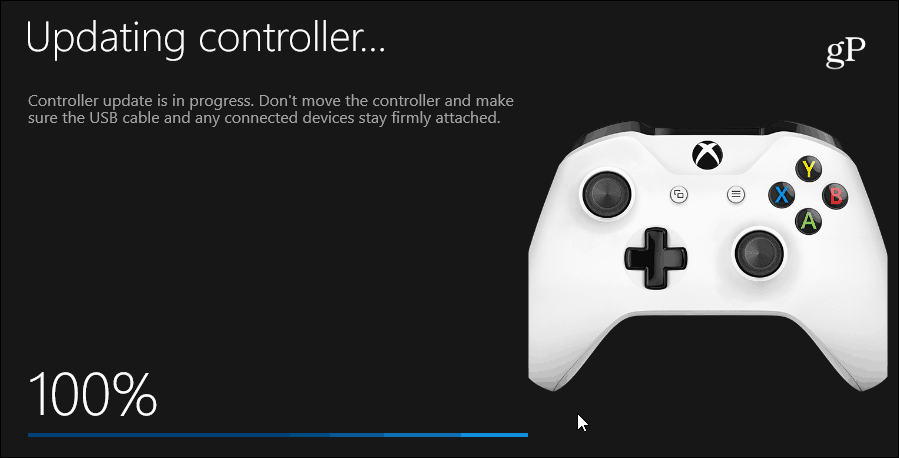
If you want to double-check for firmware updates, click the version that’s showing and wait while a quick check for updates is performed.
I used this method the other day because my Xbox One controller lost its connection to the console and I couldn’t get it back. After getting the latest firmware update through the Xbox Accessories app, I was able to connect it to the console again. And the controller seemed to be more accurate and responsive. Of course, that could be a placebo effect, but in the end, it did fix the connectivity issue. While simple connection issues are usually fixed with a new set of batteries or power cycling your console, there are sometimes odd issues you can run into with your controller. Making sure it has the latest firmware updates from Microsoft is a good place to turn if you’ve exhausted the usual basic troubleshooting steps. Or, if you need to do precise tweaks and use enhanced abilities like Copilot mode, for example, this app does the trick. Comment Name * Email *
Δ Save my name and email and send me emails as new comments are made to this post.
![]()


