Microsoft is phasing out the classic Control Panel in favor of the Settings app in Windows 10. Yes, the Control Panel that you know and love is still included, but the company is burying it deeper into the OS with each feature update. Instead, more of the classic options are converted to the modern design in the Settings app. In fact, there might come a point where the classic Control Panel is completely removed. If you’re a long-time user of Windows, but new to Windows 10, this is one change that takes getting used to. The good news is the Start menu in Windows 10 has a lot more options and features than previous versions. In addition to pinning items like websites and apps, you can pin individual or groups of settings to the Start menu, too. If you want a faster way to access specific settings or a group of them, here’s how to pin them to the Start menu.
Pin Windows 10 Settings to Start Menu
First, open the Settings app by hitting the Windows key and then clicking Settings (gear icon) located just above the power button on the left side. Or, if you’re a keyboard kung fu practitioner, use the Windows key + I shortcut to open the Settings app directly.
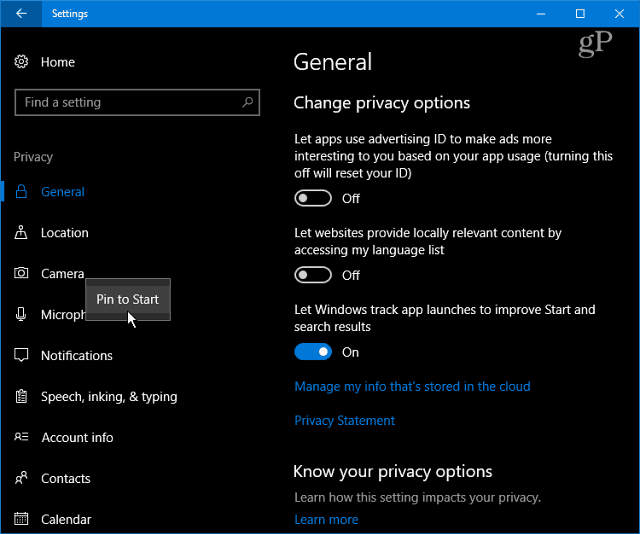
Now you can navigate your way through various settings. Right-click on the one you want and then click Pin to Start. For each one, you’ll be prompted to verify you want to take the action.
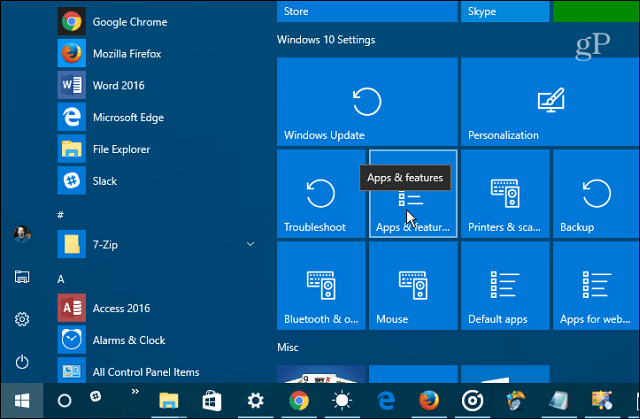
The pinned settings will show up as a tile on the Start menu. Another thing you might want to do is create a tile group like I did in the image below.
It’s also worth pointing out that you can pin entire categories of Settings, too. When you first open the app just right-click the one you want. While you can pin the entire root category, narrowing it down to individual items makes this feature the most useful.
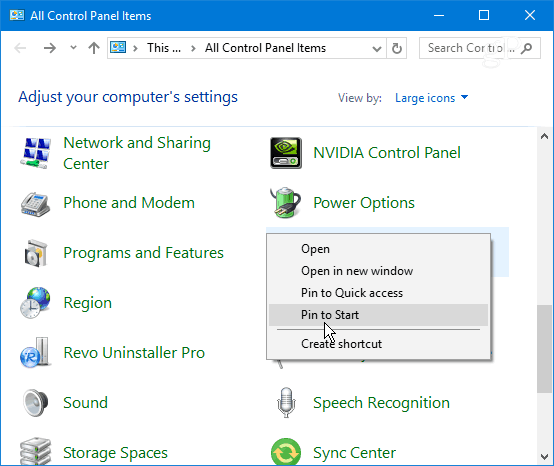
Another thing you might want to do is pin a link to the classic Control Panel to Start. Or, you can pin specific items from it, too. For example, I find that pinning Programs and Features to the Start menu is handy for when I want to uninstall an app or turn a Windows feature on or off. Hit the Windows key and type: control panel and hit Enter or choose the result from the search results. Then, right click the item you want and select Pin to Start.
This should save you a lot of wasted time of clicking through several pages of Settings and get you directly to where you need to be. This is also handy for having a direct path to settings you only need to change occasionally. Creating a link in the Start menu is easier than trying to remember where it is. You just need to remember to pin it when you’re there. What do you think of the new Settings structure in Windows 10? Do you prefer it or the classic Control Panel? Leave a comment below and let us know your thoughts on the matter. Comment Name * Email *
Δ Save my name and email and send me emails as new comments are made to this post.


![]()
