My Data Manager for iOS
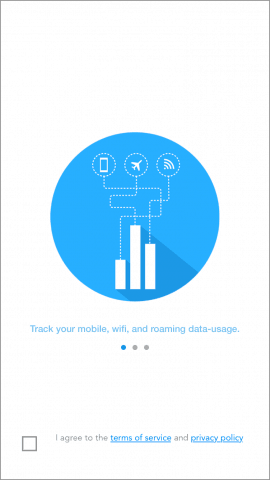
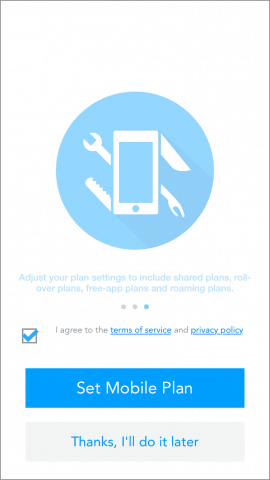
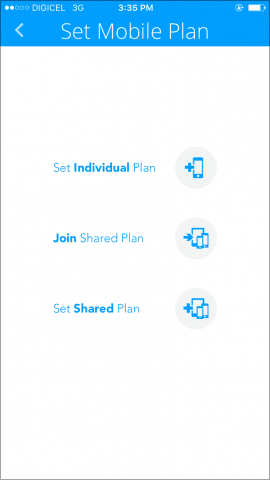
After downloading My Data Manager launch it, tap to agree to the terms of service and select Set Mobile Plan. Choose the type of plan you want to setup, in this example; I’m using an Individual plan.
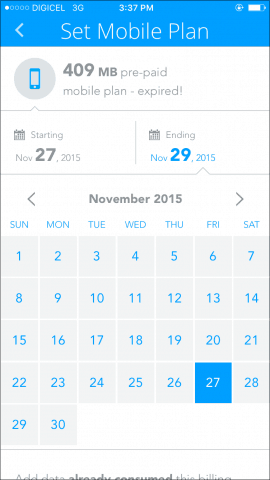
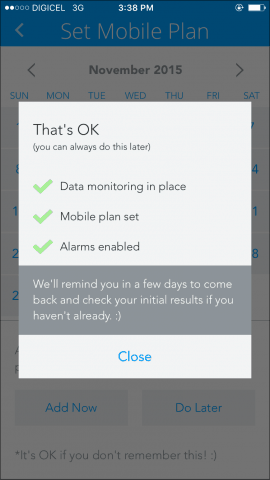
Next, select your mobile plan. I’m going with pre-paid since post-paid is not an option that I can use in my area. Enter the Data limit. You can find this information by dialing a code, contact your carrier for details. Define when the plan expires by using the simple calendar interface. My cellular carrier offers different plans that include one to 30 days. I’m using a 2-day plan which is maxed out at 225 MBs, and I have some rollover data which brings it up to 409 MBs. Once defining the expiration, tap Add Now. My Data Manager will start monitoring your data usage.
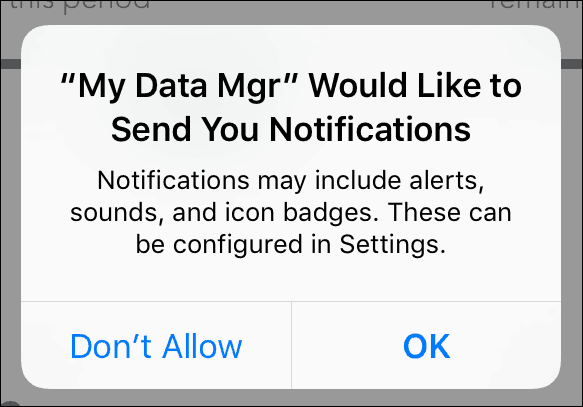
If prompted for access, tap Allow and let it send you notifications, since it will be key to letting you know when you might be near your limit or when data is about to expire. Once you have everything set up, you’ll be presented with the main interface which lets you track how much data you have used so far along with remaining data. Data Manager also sets a quota for your daily budget, so for today, I have 204 MBs remaining.
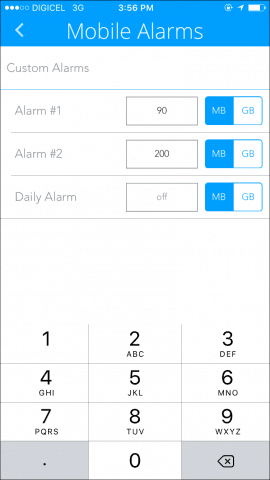
If you want to make adjustments, just tap the hamburger menu at the top right, and choose from a list of options including your summary, history, a map of your location, timer, and alarms. I suggest you check out the alarms and make appropriate changes there. This is the app I have always wanted for my type of data plans. Keeping track of it all in a spreadsheet was becoming too much. My Data Manager does all the work for me and gives me the peace of mind to manage my data efficiently. If you are on a limited data plan, give this a shot and let us know what you think about it in the comments below. Comment Name * Email *
Δ Save my name and email and send me emails as new comments are made to this post.
